If your garden has slopes, level changes, or simply needs a design upgrade, sleeper steps can be a stylish and practical solution. They’re durable, versatile, and work equally well in modern landscapes or more traditional garden designs. Whether you’re creating access between levels, defining borders, or adding seating areas, there are plenty of ways to incorporate sleepers into your outdoor space.
In this blog, we’ll share four sleeper step ideas to inspire your next garden project, along with practical tips on making steps with sleepers, and choosing the right materials for long-lasting results.
1. Raised beds and planters
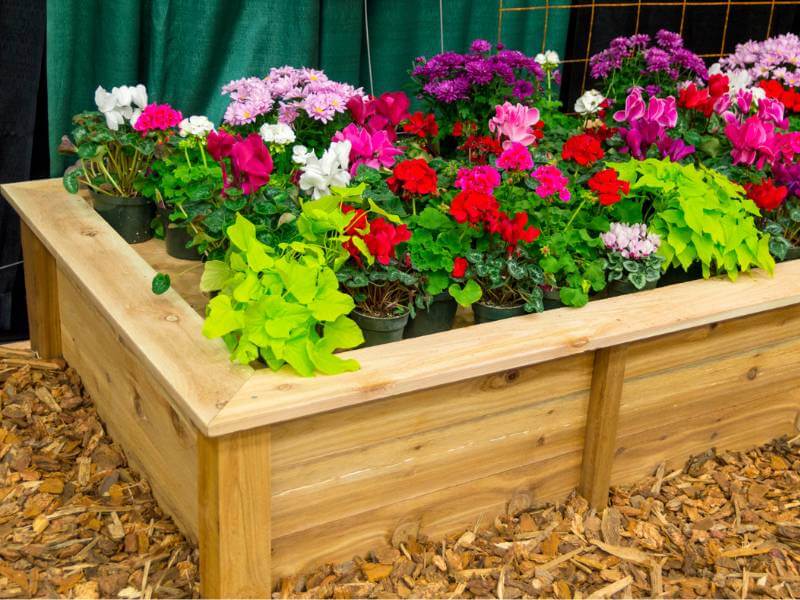
One of the most popular sleeper step ideas is combining steps with raised beds or planted areas. This works particularly well in sloped gardens if you want to create defined levels rather than a continuous incline.
It also works well for:
- Tiered gardens with height variations
- Kitchen gardens or herb beds
- Decorative planting areas
- Creating structured landscape layouts
Integrating sleeper steps with planted areas not only achieves functionality and visual interest, but they also act as retaining walls while forming solid, attractive steps between levels.
You can keep the look rustic with natural timber tones, or you can stain your sleepers to complement paving, fencing, or decking elsewhere in your garden.
2. Sleeper borders with garden edging

If your garden slopes gently rather than dramatically, sleeper steps can double as garden edging while providing easy access between different levels.
This is one of the simpler sleeper steps ideas, but it’s very effective visually. Steps built directly into lawn borders create clean lines while making maintenance easier, especially when mowing or managing planted areas.
Some key benefits of taking this approach include:
- Clear separation between your garden and planted areas
- Improved accessibility on sloped gardens
- A structured, professional finish
- Reduced soil erosion on gradients
This option is particularly ideal if you want a subtle landscaping upgrade that combines practicality with a tidy, finished look.
3. Patio and path edging
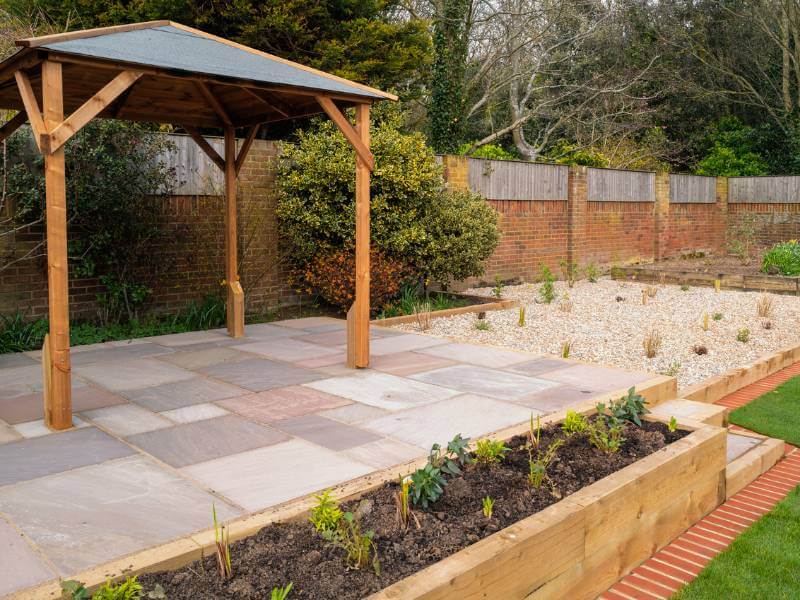
Another popular option when looking at sleeper step ideas is incorporating sleepers into patio edges, pathways, or garden walkways. This is a great option if your patio transitions into grass or if your path needs gentle steps to follow the landscape.
You might also see this approach when:
- Creating informal stepped pathways
- Framing gravel or stone walkways
- Softening transitions between surfaces
When done well, this sleeper step idea blends functionality with strong design appeal and can significantly enhance your overall garden layout.
4. Sleeper benches and garden furniture
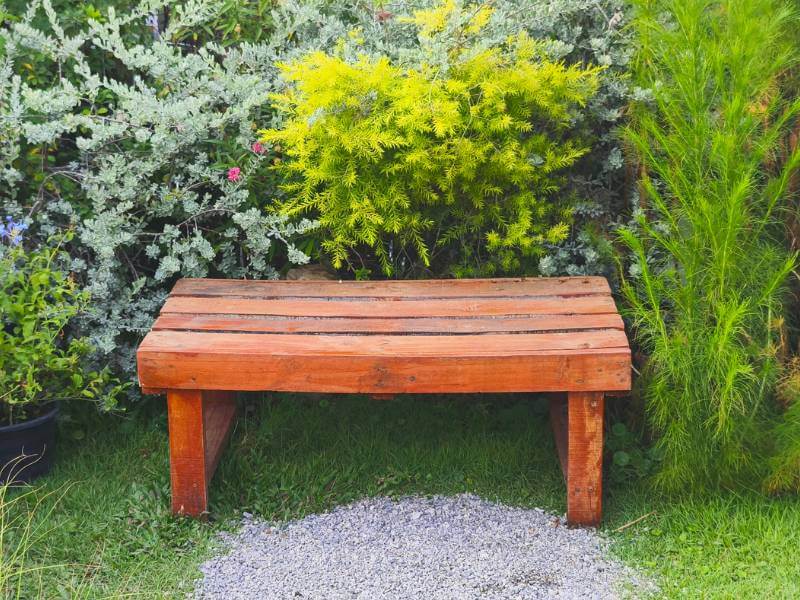
Sleeper steps don’t always have to be purely functional, they can also double up as seating and garden furniture. Using wide sleepers or adding seating alongside your steps creates a versatile outdoor space.
This is one of the more creative sleeper steps ideas that work well in:
- Social gardens or entertaining spaces
- Fire pit zones or outdoor dining spots
- Terraced gardens where seating is built into levels
- Contemporary landscaping schemes
Sleepers are naturally robust, making them ideal for seating areas that also serve as steps. You could add cushions, planters, or lighting to elevate the look further while maintaining practicality.
This style not only maximises space, but also creates focal points that make gardens feel more intentional and welcoming.
Tips for making steps with sleepers
When making steps with sleepers, it’s important to ensure you’re prepared as this will make the job easier and help ensure a long-lasting result.
Here are some of our top practical tips to keep in mind:
- Measure the rise and run carefully to ensure each step is even and comfortable to use
- Excavate and level the ground properly before laying your first sleeper
- Install a compacted sub-base to reduce movement and improve stability
- Secure your sleepers firmly using suitable fixings or ground anchors
- Allow for drainage, especially on sloped gardens, to prevent water sitting behind the timber
- Check levels as you build and adjust where necessary to maintain consistency
- Treat cut ends of your timber to protect against posture and extend lifespan
When building sleeper steps, consistency is key. That’s why you should always take your time during installation as this will avoid issues later on.
How to choose the right materials for your sleeper steps
The best sleeper steps start with the right materials, because what you choose will affect how stable your steps feel underfoot and how well they last.
To help you choose the right material for your project, here are some key elements to think about:
- Budget and finish – keep in mind your budget and finish as this will influence the type of sleeper you opt for. For example, softwood is more cost-effective, but hardwood is longer-lasting.
- Ground contact – you should choose a material that is suitable for ground contact so it can cope with damp conditions and seasonal changes.
- Plan a solid sub-base – this will typically involve compacted aggregate as it will help reduce movement and keep your steps level over time.
- Consider drainage – this should be a priority of your project as you want to avoid water sitting behind the sleepers or pooling at the bottom of your sleeper steps.
- Use the right fixings – galvanised screws, landscaping fixings, and rebar pins are all fixings that are suitable for outdoor projects and will keep your sleepers secure.
- Soil pressure – if your steps are retaining soil, you should allow for soil pressure by anchoring properly and using drainage gravel where needed.
- Final look – think about whether you want to match your sleeper colour and finish with other elements of your garden like paving, gravel, fencing, decking, or plants.
Want a quote for your sleeper step materials?
We hope we’ve been able to provide you with some inspiration with our sleeper step ideas. If you’re ready to take on making steps with sleepers, choosing the right materials makes all the difference to the look, finish, and durability.
At JTD Building Supplies, we stock a wide range of landscaping materials and groundwork materials to help you complete your sleeper step project with confidence. We can provide expert advice on selecting the right aggregates, fixings, and drainage solutions so you can ensure your garden project is easy from start to finish.
Don’t hesitate to get in touch with us today for specialist guidance and a tailored quote for your sleeper step materials.
FAQs around sleeper steps
What are sleeper steps?
Sleeper steps are garden steps built using timber landscaping materials, They’re typically used to create safe access across slopes, raised beds, or tiered outdoor spaces. They offer a natural, sturdy alternative to brick or concrete steps and can work well in both modern and traditional garden designs.
Are sleeper steps suitable for all gardens?
In most cases, yes. Sleeper steps are particularly useful in sloped gardens, tired landscapes, or areas where you want to connect patios and planting areas. With the right groundwork and materials, they can suit both small domestic gardens and larger landscaping projects.
What type of sleepers are best for garden steps?
Hardwood sleepers tend to be the most durable option for sleeper steps, especially in high-traffic areas or damp environments. On the other hand, pressure-treated softwood sleepers provide a more budget-friendly alternative. Reclaimed sleepers can also work well for character and rustic appeal, but may need additional preparation before installation.
How deep should the base be when making steps with sleepers?
A compacted sub-base of around 100-150mm is commonly recommended for stability, although this can vary depending on soil type, drainage, and how much weight the steps will take. Preparing the ground properly helps prevent movement, sinking, or uneven steps over time.
How long do sleeper steps last?
With proper installation, drainage, and treatment, sleeper steps can last for many years, especially when hardwood or pressure-treated timber is used. Regular maintenance, such as reapplying protective treatments, can help extend their lifespan.